Building a Solder Fume Extractor
Why?
If you have raw dogged soldering before, plus used cheap flux and solder wire, there are very good chances that you remember the pungent smell (also toxic) which you get when the hot tip touches the tin.
While a ready-made solution to that problem already exists, I wanted to make my own as it was
- Almost 3x cheaper
- I would have fun making it (depends heavily on your definition of fun)
Components
- 1x 12V PC fan
- I used a standard sized Delta fan measuring 120mm x 120mm x 25mm
- I could be wrong here but I do think that this particular fan definitely has a higher CFM than your standard PC fans based upon the noise it makes when it ramps up to full speed
- 1x Activated carbon filter
- Almost all 3D models you will find will be made to support the Hakko filter measuring 130mm X 130mm X 10mm
- I deviated a bit here and used a air purifier filter folder multiple times
- 1x good 3D model
- The fan's angle can be tweaked
- It's a cheap model with not a lot to print
- The base is large enough so it won't wobble or have a weird weight distribution
- Includes support for a switch and an input power jack
- 1x KCD1-101 switch
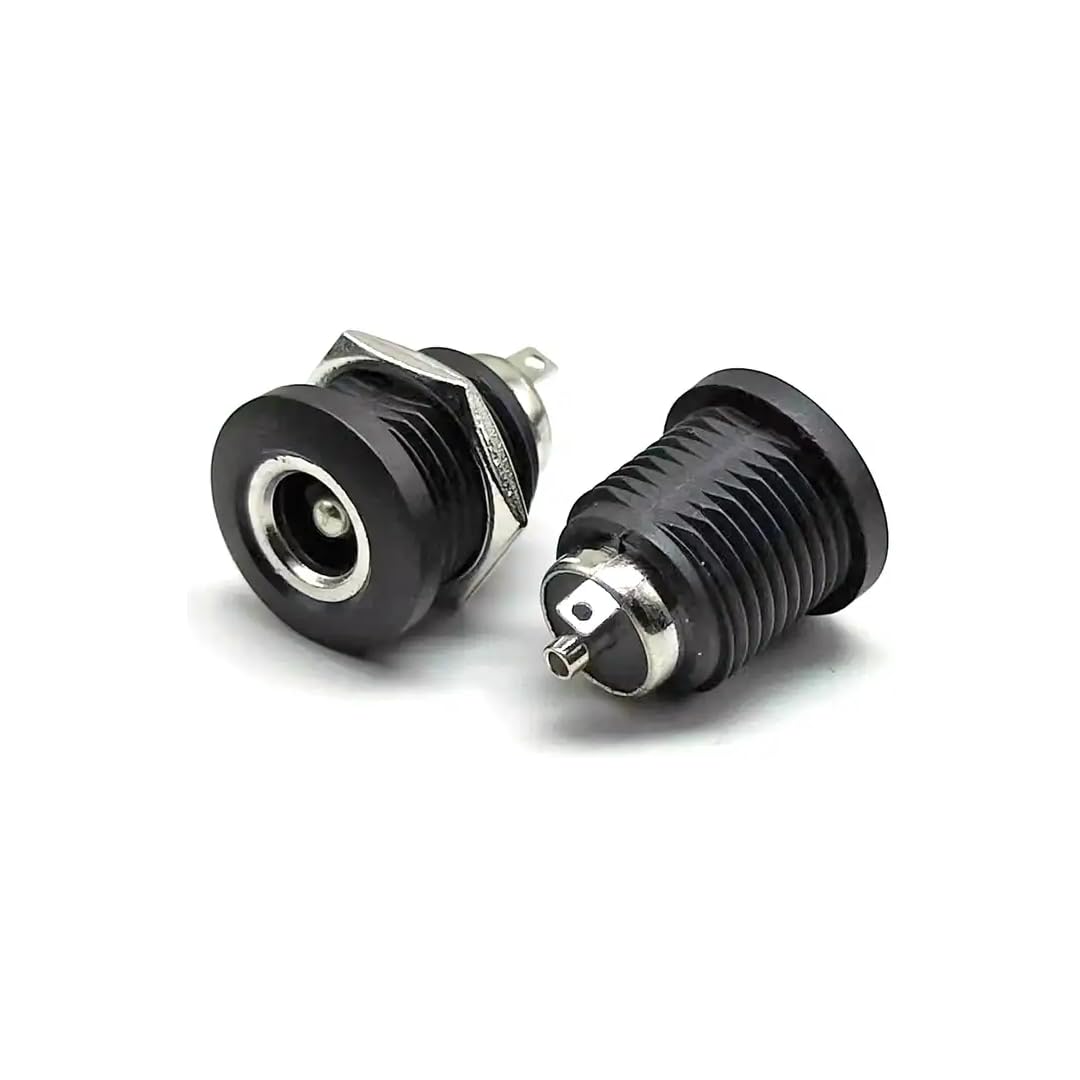
- 1x DC barrel power jack
- PRT-00119 from Sparkfun is the one recommended by the author of the model
- I used a screw mount jack — there are additional instructions you will have to follow to use this
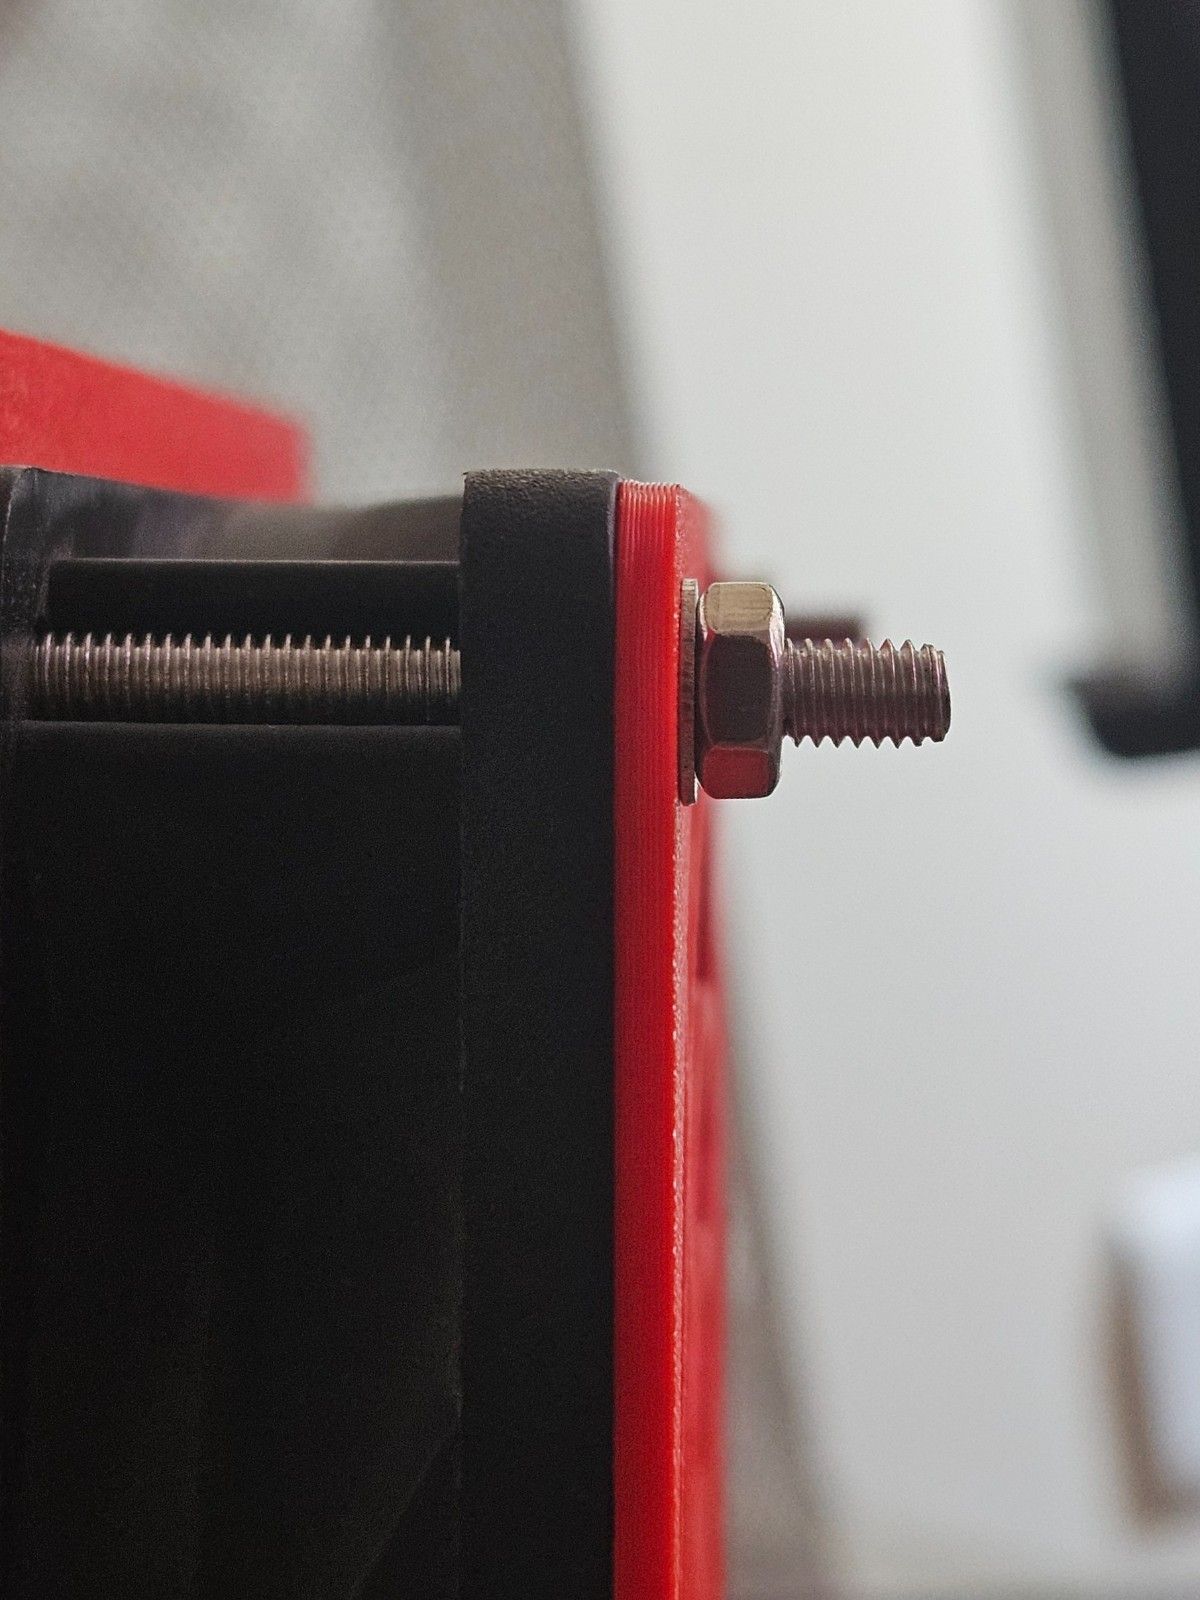
- 5x M4 x 40mm screws
- 36mm would be the sweet spot, as is recommended by the author of the model but I couldn't find 36 mm M4 screws and was too lazy to cut the ends off these
- 5x M4 washers
- 5x M4 bolts
- 1x 12V power adapter with a 5.5 x 2.1 mm plug
Procedure
Building this is fairly straightfoward. There are very less instructions that you need to follow but here are some important ones
Make sure that the wires coming out of your fan are not too short so that everything can be accommodated in the space which is available at the bottom of the model

Make sure that direction of the air flow is such that sucks in air through the filter and exhausts it out the back. I drew arrows on my fan so that I don't confuse myself
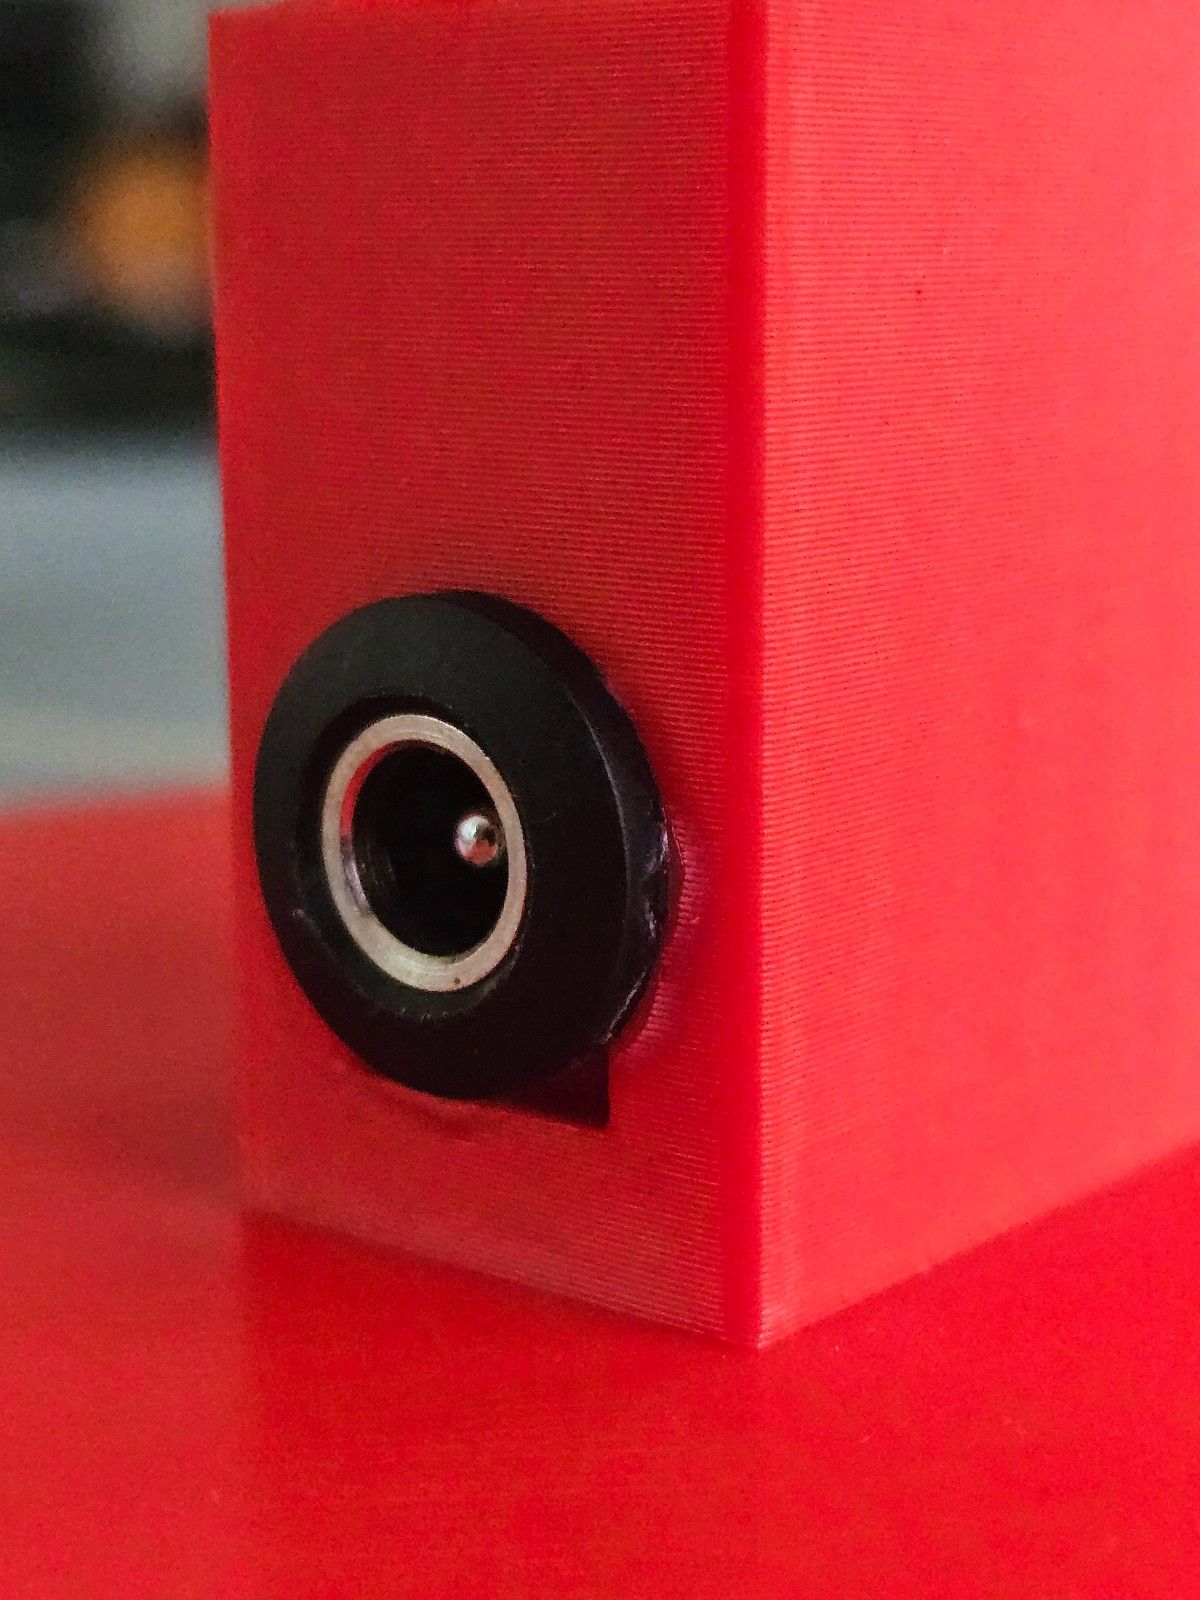
If you wish to use a panel mount input power jack like I did, you probably won't be able to tighten the nut from the inside as the clearance is too less. You would have to
Extend the square hole with a drill to be large enough to hold the jack
Super glue the barrel in place — make sure to do this only after you have connected and tested everything
Always double check the order of your connections — you cannot solder everything outside and then transfer them all to the model in one shot
The screws stick out a little bit, I don't mind it personally but it's upto you if you decide to get smaller ones or grind the ends off
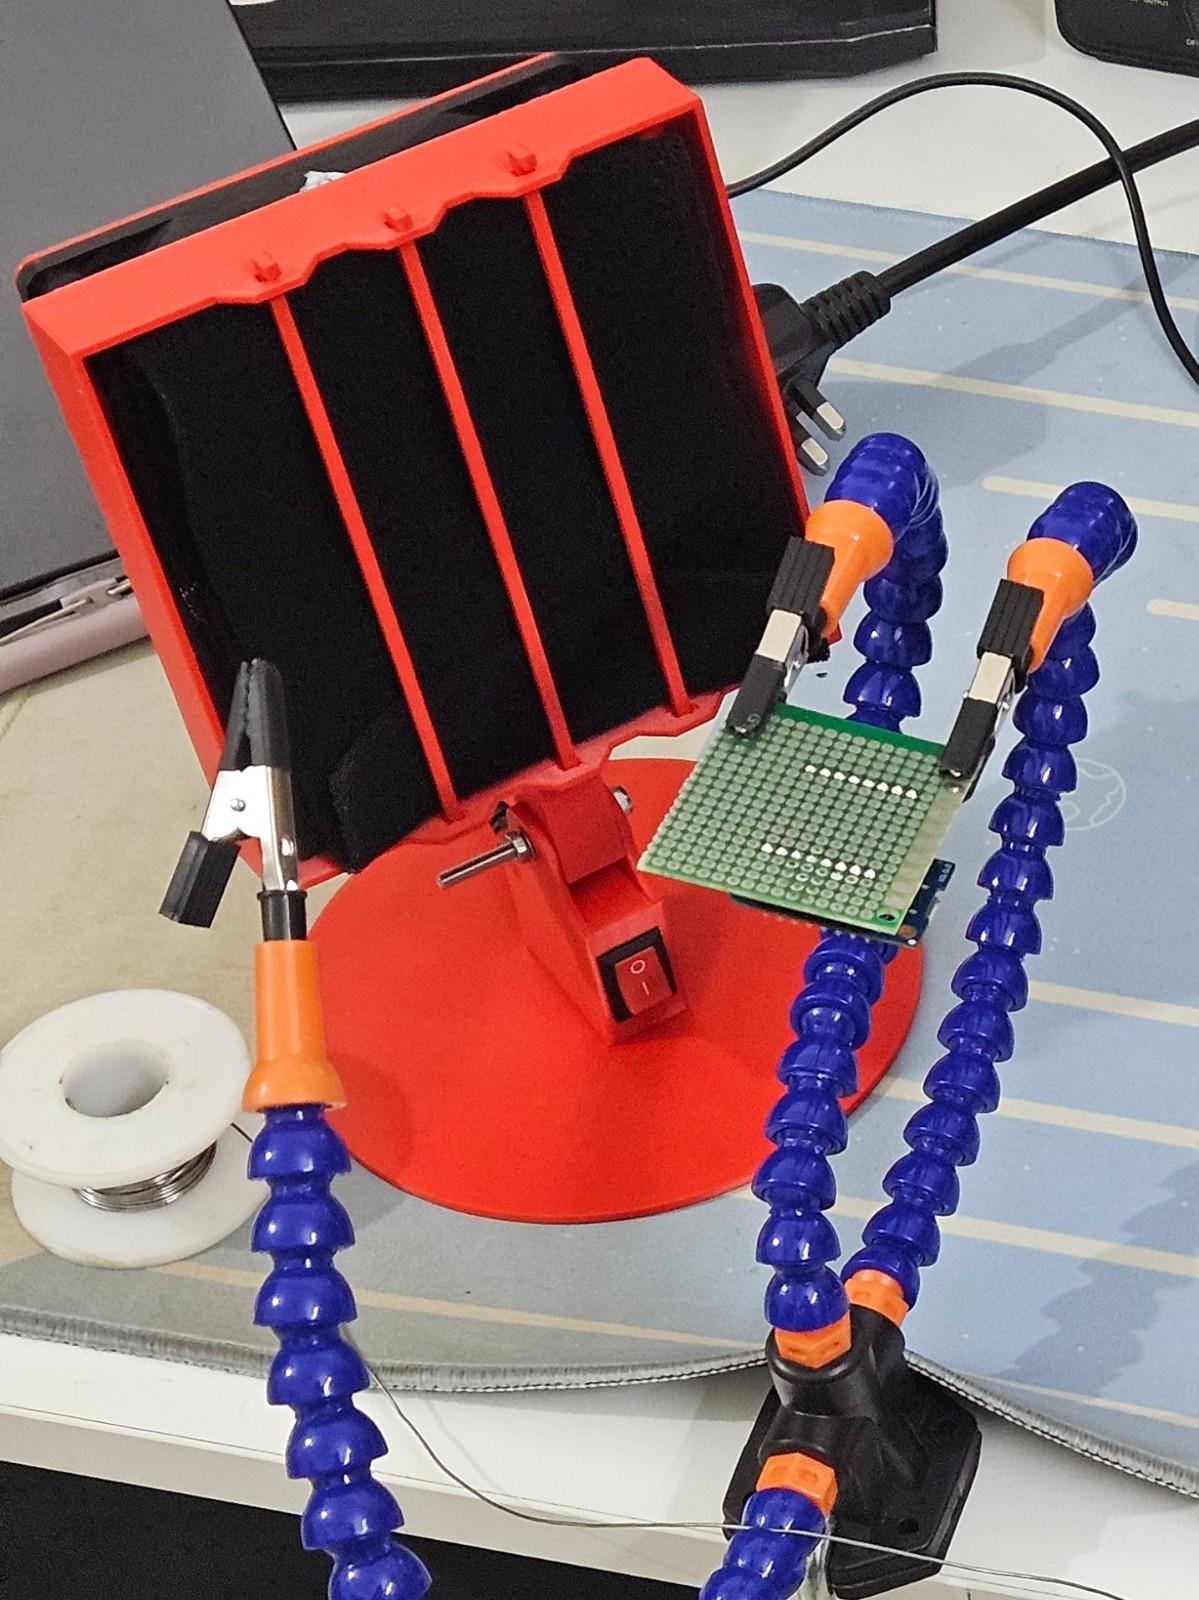
Voila!
Suggested usage, also a teaser for the next project
Disclaimer
The entirety of this was written by a 🧬. Yes, including the em-dashes.